Digital ownership has taken a revolutionary turn with the emergence of Non-Fungible Tokens (NFTs). These unique digital assets have opened up new opportunities for artists, creators, and collectors to showcase, sell, and own digital artwork, collectibles, and more. If you’ve been intrigued by the world of NFTs and want to dive into creating your own, you’ve come to the right place.
Whether you’re an artist, a content creator, or simply an enthusiast looking to explore this exciting realm, we’ve got you covered. We will delve into the step-by-step process to create an NFT. From selecting the perfect content or asset to minting it onto the blockchain and listing it on popular NFT marketplaces, we will guide you through each stage.
So, whether you’re an aspiring artist ready to monetize your creations, a collector looking to own unique digital assets, or simply curious about the NFT phenomenon, this guide will equip you with the knowledge and tools you need to create your own NFT masterpiece.
Get ready to unlock the potential of digital ownership and embark on an exciting adventure in the world of Non-Fungible Tokens. Let’s dive into the easy steps that will turn your digital dreams into reality!
How to Create an NFT
Follow these steps to create an NFT and bring your unique creations to life on the blockchain.
Step 1: Select the content or asset for your NFT
Dive into the depths of your creative universe and select the shining gem that will become your NFT. Whether it’s a mesmerizing digital artwork that dances with colors, a captivating photograph frozen in time, a harmonious melody that echoes through the soul, or even an enchanting virtual landscape waiting to be explored, choose the content that speaks to your artistic vision and stirs emotions within.
In this boundless realm of NFT creation, originality and uniqueness reign supreme. Be true to yourself and your creative voice, avoiding the gravitational pull of imitation. Embrace the audacity to be different, for it is in those divergent brushstrokes that true brilliance often resides.
In this realm of NFTs, rarity holds allure. Consider crafting limited editions or one-of-a-kind creations that tantalize collectors’ desires for exclusivity.
Step 2: Choose a Blockchain
There are many blockchains that can be used to store NFTs. It’s crucial to select the one that aligns with your specific needs, as blockchain keeps a permanent record of your NFT. You can select one of these top 10 blockchains for NFTs.
These diverse ecosystems provide a rich and vibrant space for the creation, exchange, and exploration of non-fungible tokens, showcasing the ever-expanding possibilities in the NFT domain.
Step 3: Setting up a digital wallet
Setting up a digital wallet is a crucial step in engaging with the world of NFT creation. When setting up a digital wallet for NFT creation, it’s essential to choose a wallet that supports the blockchain network you intend to use.
Once you’ve chosen a wallet, follow the instructions provided to install it on your preferred device, be it a mobile phone or desktop computer. During the setup process, you’ll typically be guided to create a new wallet by generating a unique wallet address and setting up private keys and a recovery phrase offline.
There are various popular wallet apps available that support multiple blockchains, offering flexibility and convenience, like Metamask, Coinbase, Ledger Nano X, and many more.
Step 4: Choosing an NFT Marketplace
Once you have set up your digital wallet, the next step is to select an NFT marketplace where you can create, list, and sell your NFTs. There are several popular NFT marketplaces to consider, each with its own unique features, user base, and community. Some of the top NFT marketplaces include OpenSea, Rarible, SuperRare, and NBA Top Shot (for sports-related NFTs).
Navigating through all NFT marketplaces can be a daunting task, as the multitude of options makes it challenging for any guide to encompass them all, let alone determine the perfect fit for your specific project. In this guide, we will focus on highlighting two or three popular marketplaces; however, it’s important to note that alternatives exist that may align more closely with your project’s goals, target audience, or desired aesthetic.
When choosing an NFT marketplace, you should keep platform fees, marketplace userbase, NFT discoverability and promotion, and compatibility with the chosen blockchain in mind. By carefully considering these factors, you can choose the NFT marketplace that best suits your needs and maximizes the visibility and potential success of your NFT creations.
Step 5: Minting the NFT
Minting an NFT refers to the process of creating a unique token on the blockchain. This is where your digital asset becomes an officially recognized NFT. Let’s take the splendid example of OpenSea, where the process is remarkably straightforward:
Connect wallet:
Traverse the OpenSea menu and click on the wallet icon. Select the digital wallet that resonates with your desires and sign a verification within your wallet app.
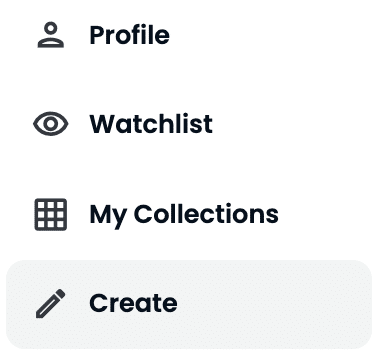
Press the Create Button:
Click the profile icon in the top right corner of the page and select Create.
Upload your Content:
After clicking on the create button, you will be redirected to the NFT item creation page, where you can upload your NFT file. It can be anything from image, audio, script to video.
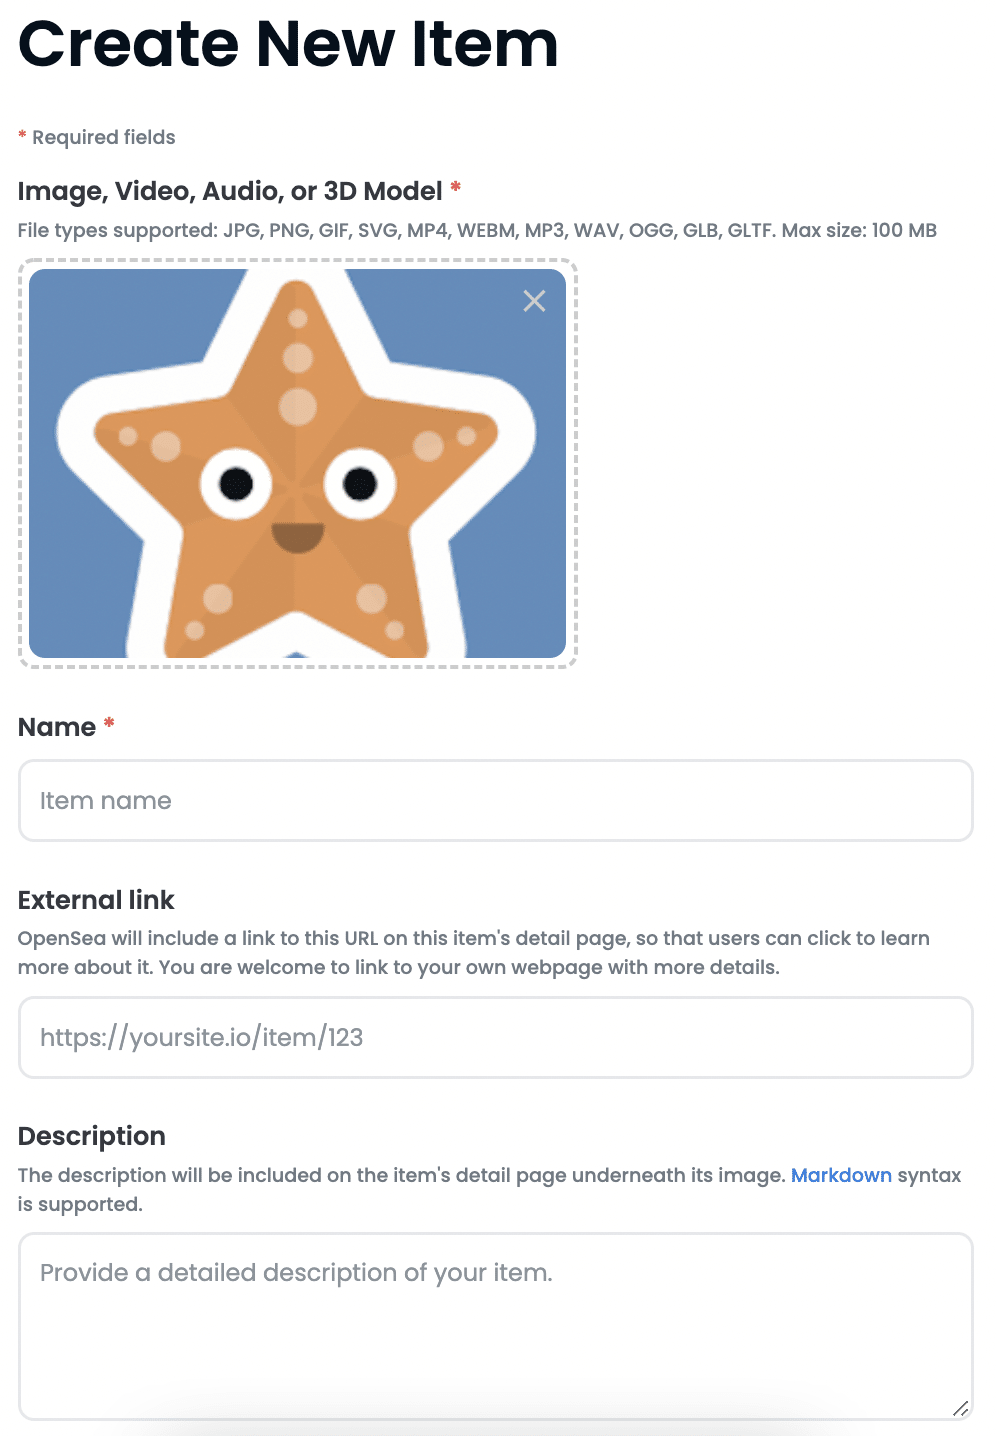
Fill the Details:
After uploading, you have to name your NFT and fill out all the necessary descriptions. You can add properties, levels, and stats. You can also add unlockable content.
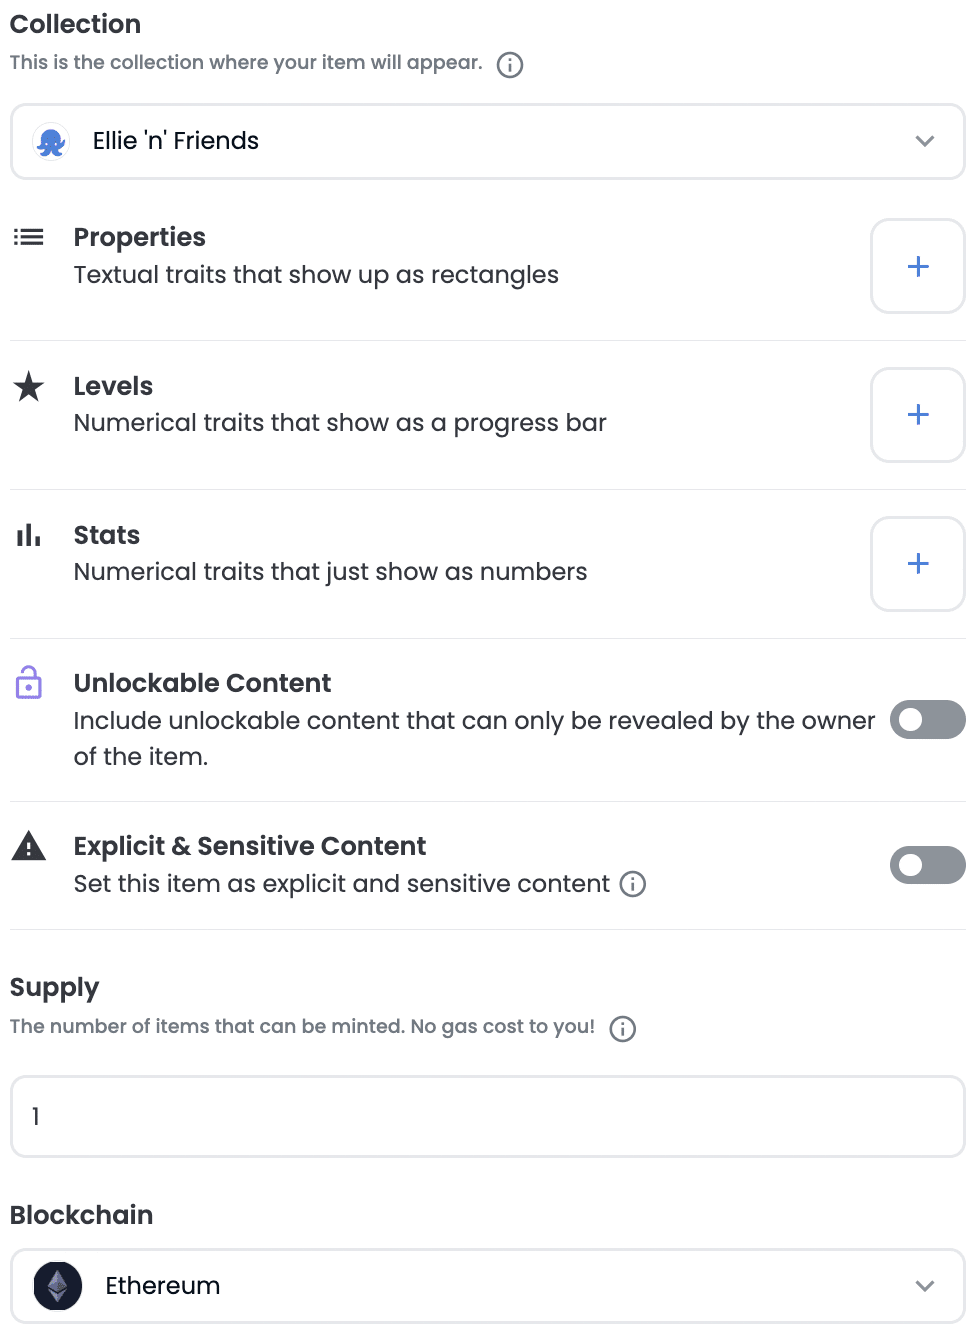
Select Blockchain:
In this step, you have to select the blockchain on which you want your NFT to be stored. By default, it would be Ethereum, but you can change it based on your choice. However, once selected, you cannot change it.
Create an NFT:
After customizing your NFT, click Create. Congratulations !! You have created your NFT. After completing, you will see a pop-up that will allow you to share your NFT via a link, Twitter, Facebook, or Telegram.
Tips for Easy NFT Creation
Creating an NFT can be made easier by implementing certain strategies to simplify the content selection process, providing user-friendly wallet options, streamlining the minting process, and maximizing visibility on NFT marketplaces. Let’s explore these tips in detail:
- Simplifying the Content Selection Process
Choosing the right content for your NFT is crucial. Simplify this process by focusing on a specific theme or niche that aligns with your artistic style or brand. Additionally, consider repurposing existing digital assets, such as artwork, illustrations, photography, or music, to save time and effort.
- User-friendly Wallet Options
To make the NFT creation process easier, choose user-friendly wallet options that integrate seamlessly with NFT platforms. Wallets like MetaMask, Trust Wallet, and Coinbase Wallet offer intuitive interfaces, easy setup processes, and compatibility with various blockchains.
- Streamlining the Minting Process
The process of minting an NFT should be straightforward and streamlined. Choose NFT marketplaces or platforms that offer a simple and intuitive interface for minting. Look for platforms with clear step-by-step instructions, automated metadata generation, and efficient token creation. This will reduce potential barriers for creators and make it easier to transform your digital assets into NFTs.
- Maximizing Visibility on NFT Marketplaces
Once you create an NFT, it’s essential to maximize its visibility on NFT marketplaces. Start by optimizing the title, description, and tags associated with your NFT. Use relevant keywords to improve discoverability and attract potential buyers.
Engage with the community by participating in forums, social media platforms, and Discord channels related to NFTs. You can also collaborate with other artists or participate in curated collections or auctions to enhance exposure.
These tips will help both newcomers and experienced creators navigate the process with ease and increase their chances of success in the vibrant world of NFTs.
Conclusion:
Venturing into the realm of NFT creation can be an exhilarating and fulfilling journey. By implementing a few key strategies, you can simplify the process and set yourself up for success. As the NFT landscape continues to evolve, staying informed about industry trends, technological advancements, and market dynamics will be key to your ongoing success.
So take this opportunity to unleash your creativity, embrace digital innovation, and connect with a thriving community. Embrace the limitless possibilities, challenge traditional boundaries, and dare to explore the exciting world of NFTs. Start your adventure today and let your creativity soar.
FAQs:
1. How Much Does it Cost to Create an NFT?
Creating an NFT can cost you from $0.05 to over $150 as it depends on various factors such as blockchain, gas fees, marketplace account fees, listing fees, etc.
2. Is Making NFT Profitable?
NFT collections can be profitable, but it mostly depends on your artwork, creativity, and a little bit of luck with patience.
3. Can I Create an NFT on My Own?
Yes, you can easily create an NFT on the NFT marketplaces.
4. Who Can Create NFT?
Anyone interested in selling their digital creations like art, music, content, photography, and video can create NFTs.
5. Can I Modify or Update the Metadata of My NFT After it’s Minted?
Once an NFT is minted, its metadata becomes immutable on most blockchain platforms. Therefore, it’s important to carefully review and double-check the information before finalizing the minting process.


